Summary
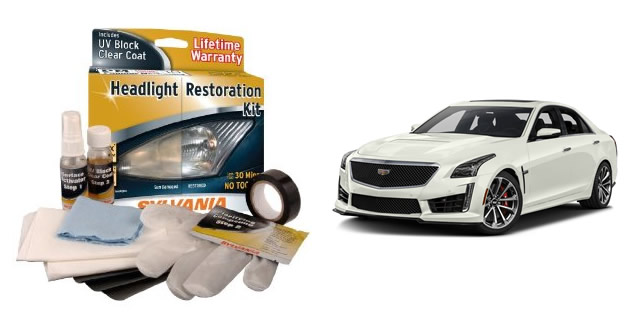
Since plastic headlights and headlight lenses have been around for decades, the aftermarket has responded to the UV degradation problem with headlight repair or restoration kits. We’ve looked at some and the one we prefer is Sylvania’s “Headlight Restoration Kit”. This product is available from a wide variety of sources and, not only did it work well in our testing, it is highly-rated by Consumer Reports.
by Hib Halverson,
V-Series Cadillacs have had polycarbonate headlights since the Cadillac introduced the first model, the CTS-V in 2004. A problem with plastic headlights can be that, over time, they turn an yellowish-brown and may develop a rough or crusty surface. Not only is that ugly, but it also reduces the brightness of the headlights.
Ultraviolet (“UV”) rays in sunlight cause a chemical change in the polycarbonate which has a yellowish-brown “haze” developing on the surface. This happens, not only in direct sunlight but can happen on cloudy days, too.
The more your V’s headlight lenses are exposed to natural light, the more they’ll tend to turn yellowish-brown. If your car spends most of its life in a garage, under a cover or has WeatherTech LampGard headlight protectors installed, then you’ll never have trouble with hazed headlights. Otherwise, over time, your headlight lenses will get ugly.
Since plastic headlights and headlight lenses have been around for decades, the aftermarket has responded to the UV degradation problem with headlight repair or restoration kits. We’ve looked at some and the one we prefer is Sylvania’s “Headlight Restoration Kit”. This product is available from a wide variety of sources and, not only did it work well in our testing, it is highly-rated by Consumer Reports.
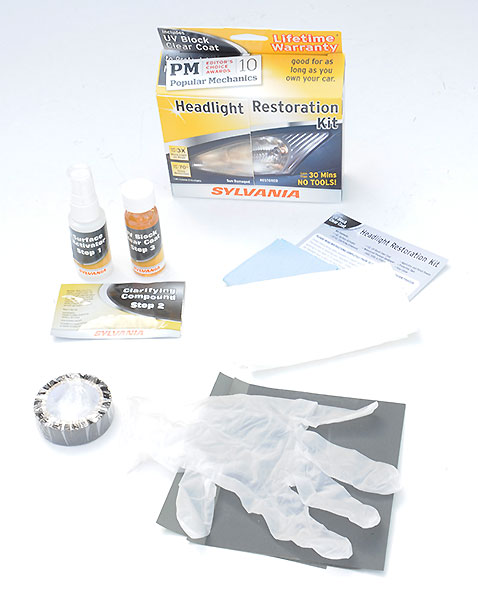
The Sylvania kit comes with most of the materials required for restoring your plastic lights. All you need to supply is water and some absorbent towels. The process is in three easy steps.
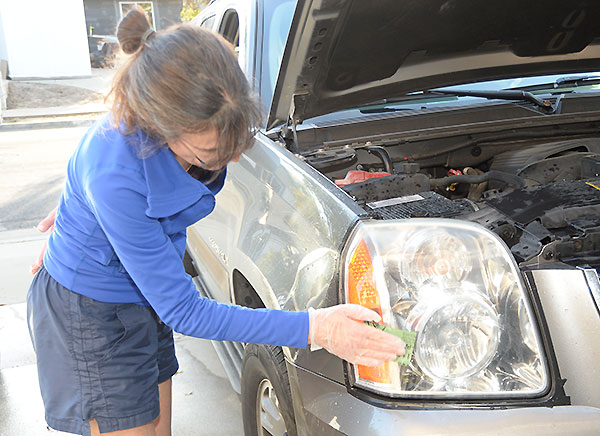
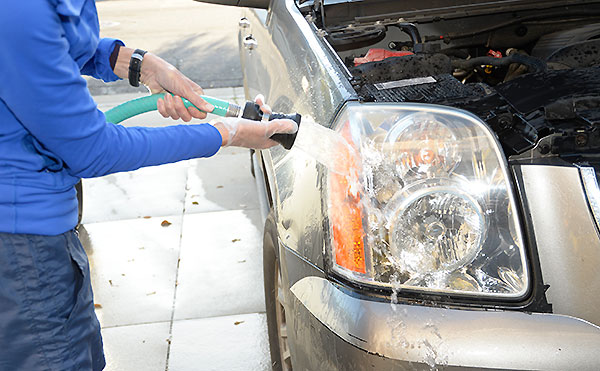
First, is to apply a “surface activator/cleaner” which you leave on the lens for a short period then wash off. The second step is sanding and polishing. You will wet-sand the headlight lens with fine (400-grit), then extra fine (1000- and then 2000-grit) sand paper. A lot of pressure is unnecessary. We found using a small, rectangular sponge as a “sanding block” made the job a little easier.
You follow the wet-sanding with polishing using Sylvania’s “Clarifying Compound”. After washing that off you apply some more Activator. The third and final step is to apply a Clear Coat which dries hard and acts as a UV blocker. It takes about an hour to do two average sized headlights. Curing time is 4-6-hours.
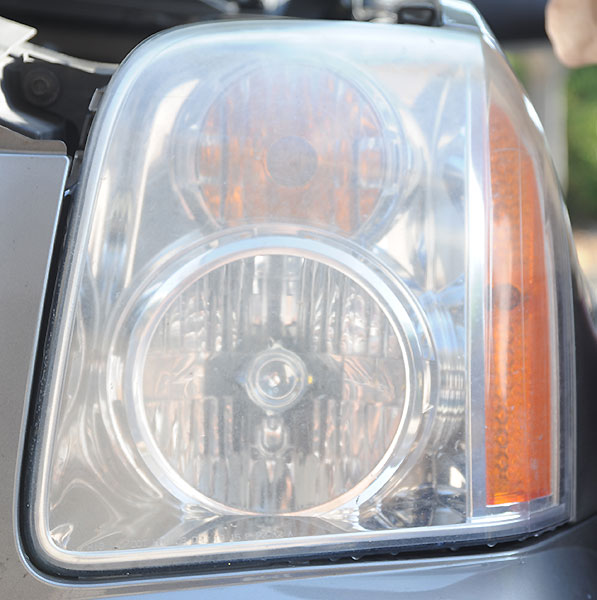
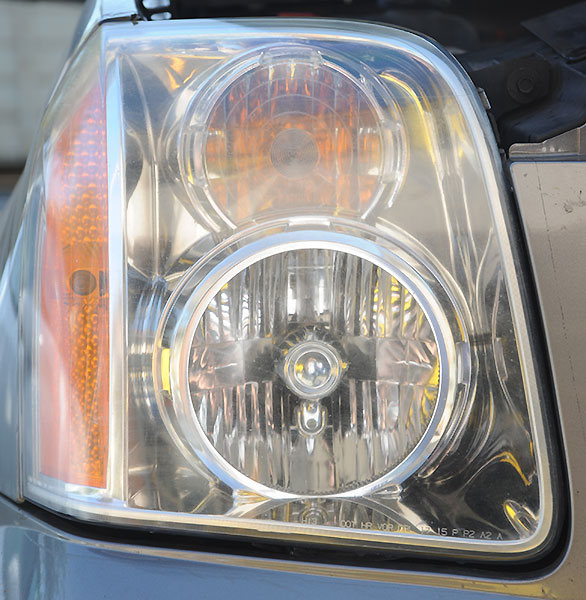
Because our ATS-V project car is so new, its lights are not hazed over, so we borrowed our neighbor’s GMC Yukon. From a pictures, you can see the difference between the unrestored and restored headlights is amazing.
For more information see Sylvania’s headlight restoration web page.
Click on the images below for a larger view:

